
Thursday, December 17, 2009
Reader Tutorial: Cartoon Character in Photoshop

Reader Tutorial: Cartoon Character in Photoshop
I have been thinking of doing a cartoon version of one of my favorite characters, Agatha Christies’ Detective Hercule Poirot, always portrayed as a strong willed and serious man. Doing such an intellectual and grumpy looking character in a cartoon fashion sounded like a funny idea to me. So I got my pencil and drew and colored it entirely on Photoshop CS3.
Hercule Poirot is a fictional Belgian detective created by Agatha Christie. Along with Miss Marple, Poirot is one of Christie's most famous and long-lived characters, appearing in 33 novels and 51 short stories that were published between 1920 and 1975 and set in the same era. - Wikipedia
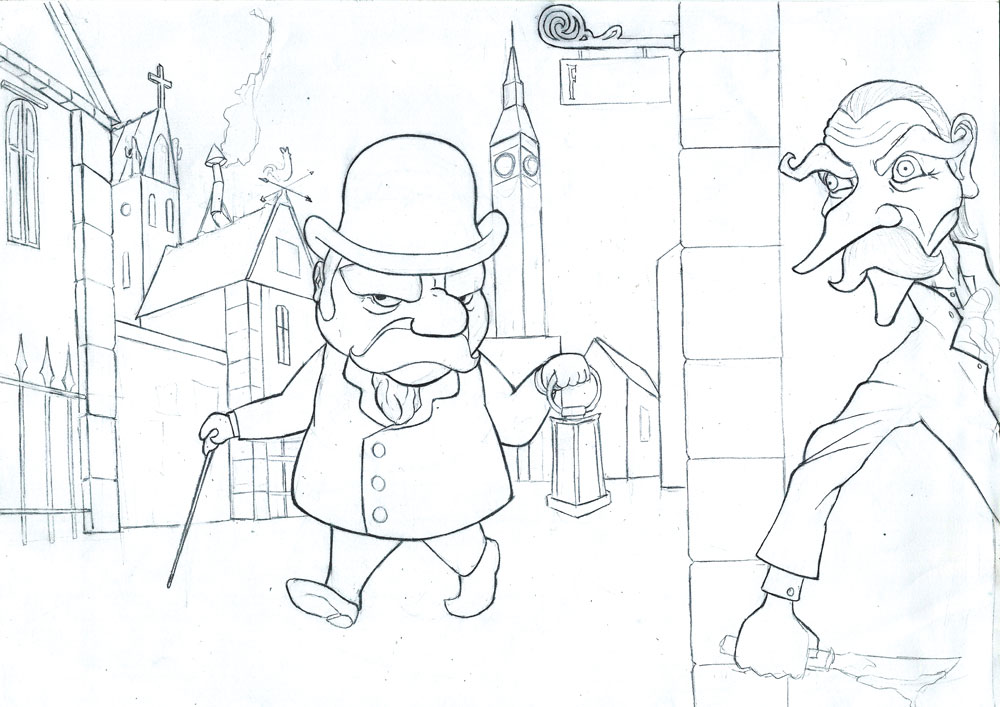
Step 1
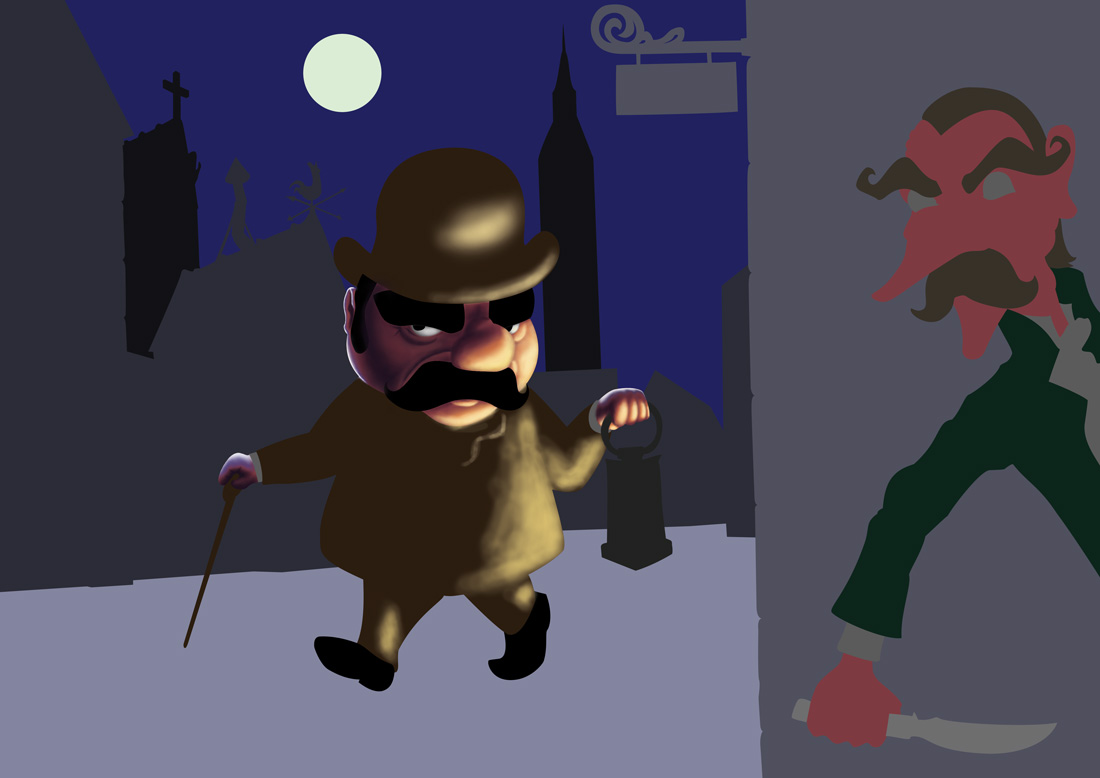
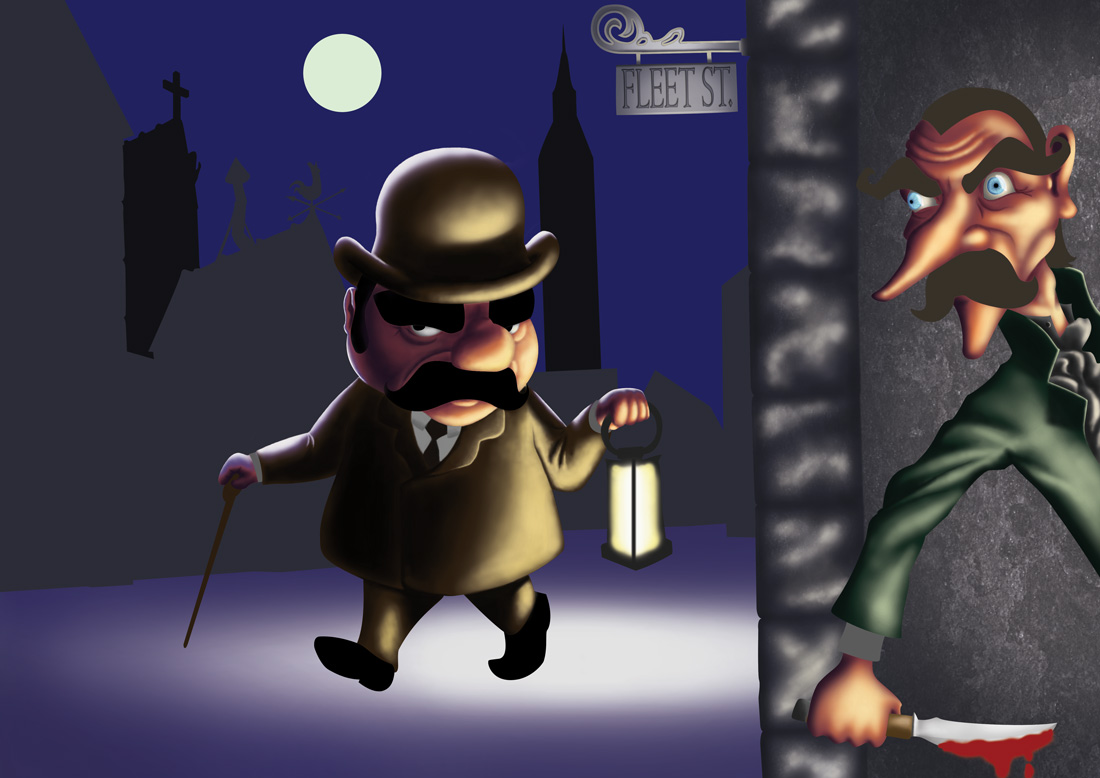
First off, I drew him walking on the streets of London, I chose that city because of the mysterious atmosphere that it has and all the history. So I drew him looking for our generic psychopath, who was just around the corner.
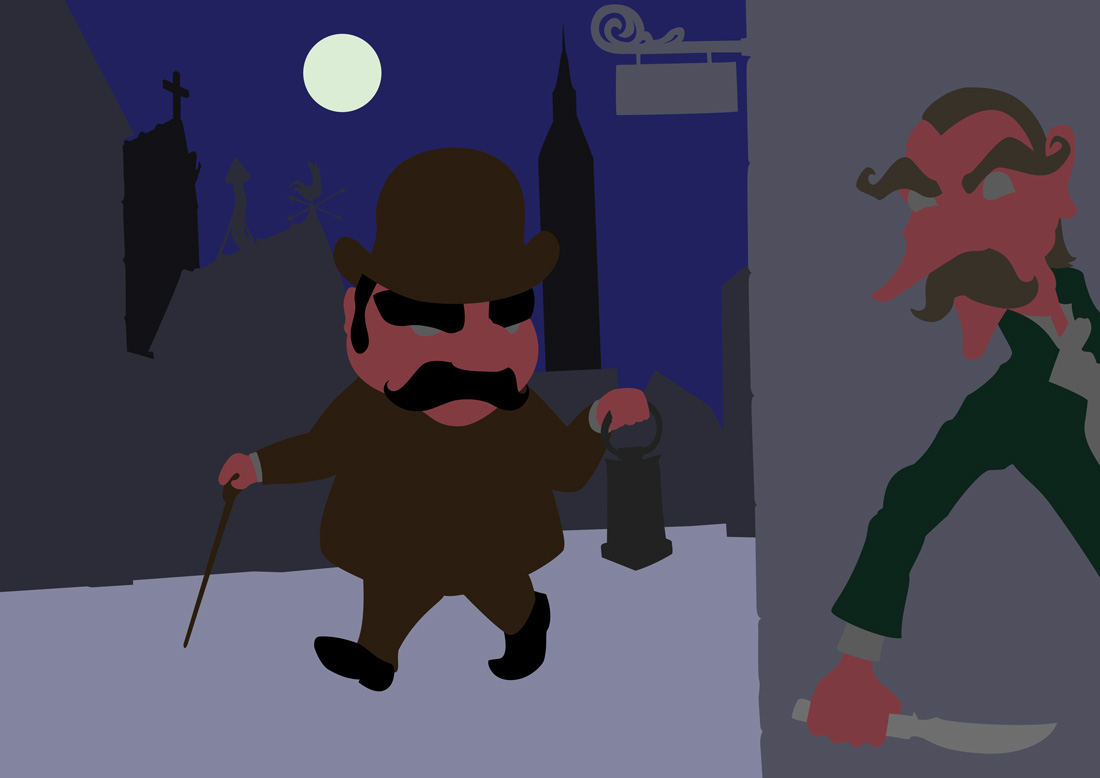
Step 2
Then I separated all of the colors. I was going to build from dark colors to bright, setting from the beginning what would be the light sources in the painting. That would be his Oil Lighter, the moon and another unseen source of light, to light up the killer.
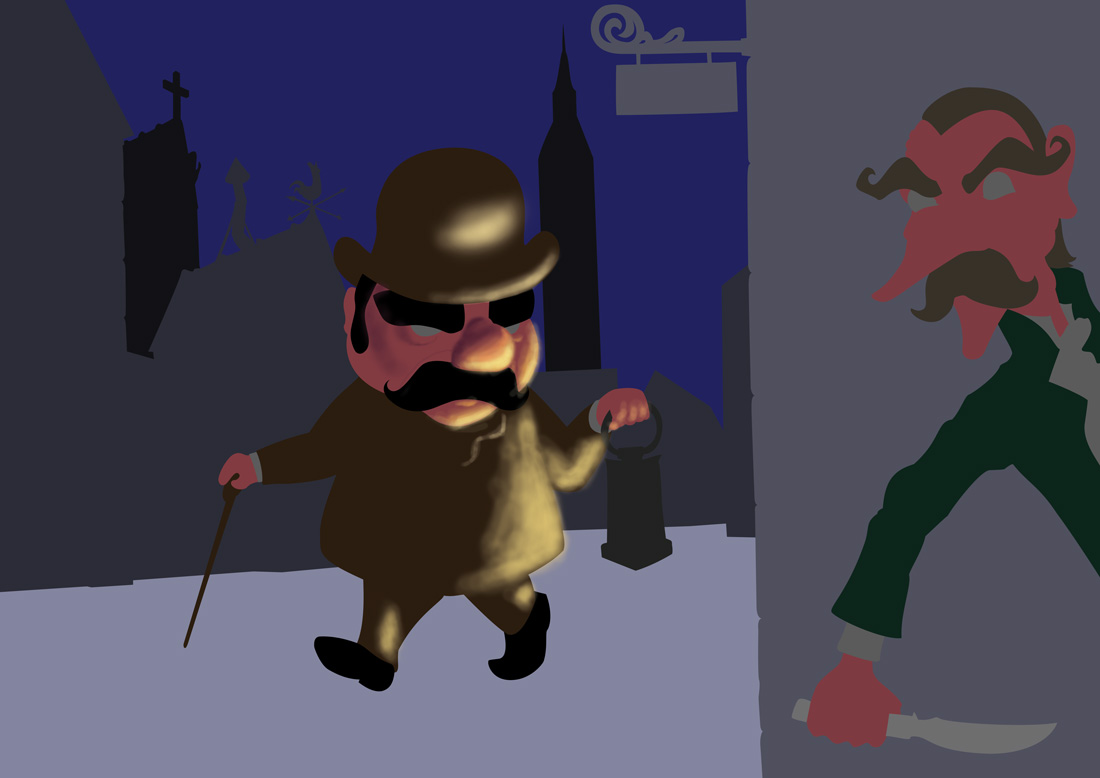
Step 3
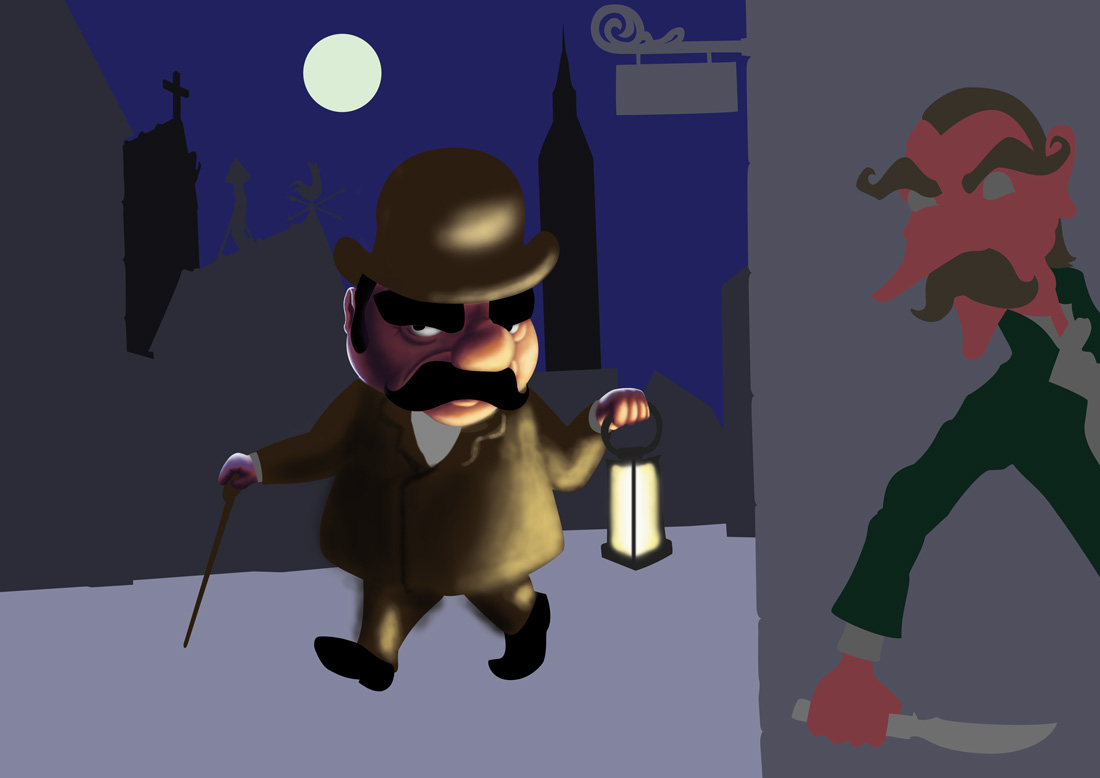
I began spreading “paint” so I could begin to study the way light would fill up Poirot’s face and clothing. Pay attention that before heading for “full bright oil lamp yellow” I used some strong, saturating orange. It’s creates a neat skin effect. Began as well as shading up a little, creating darker, purple areas around his face.
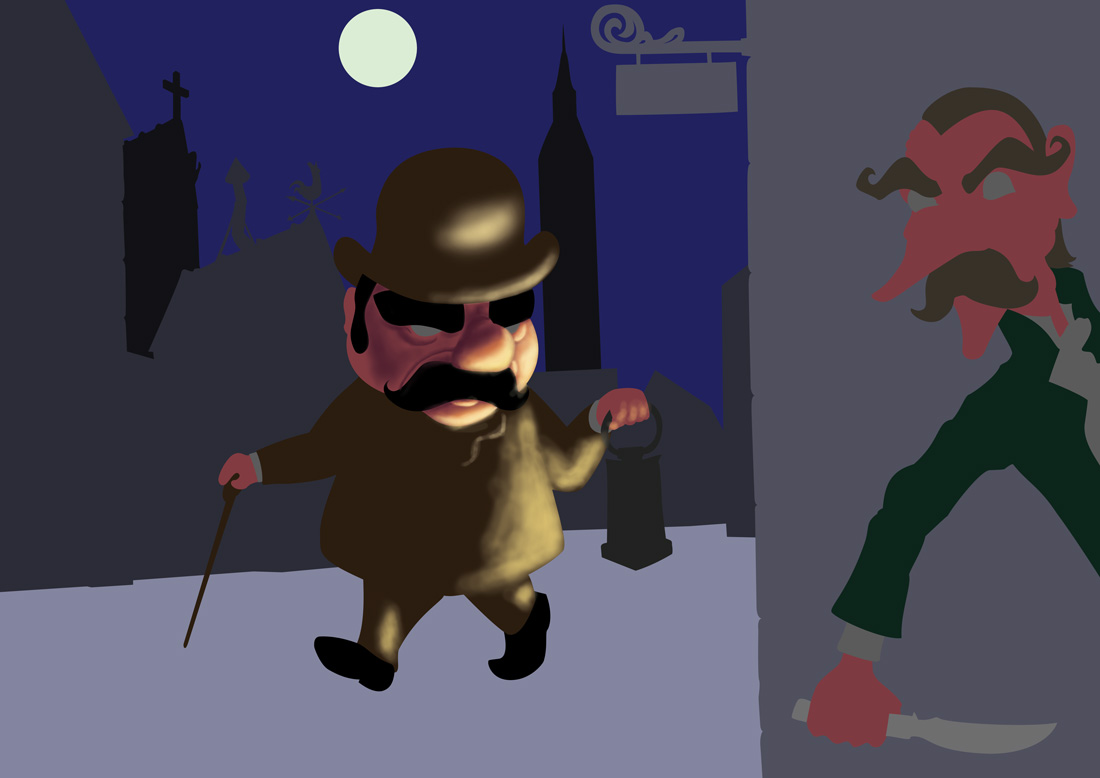
Step 4
Here I defined a little more of his facial lightning.

Step 5
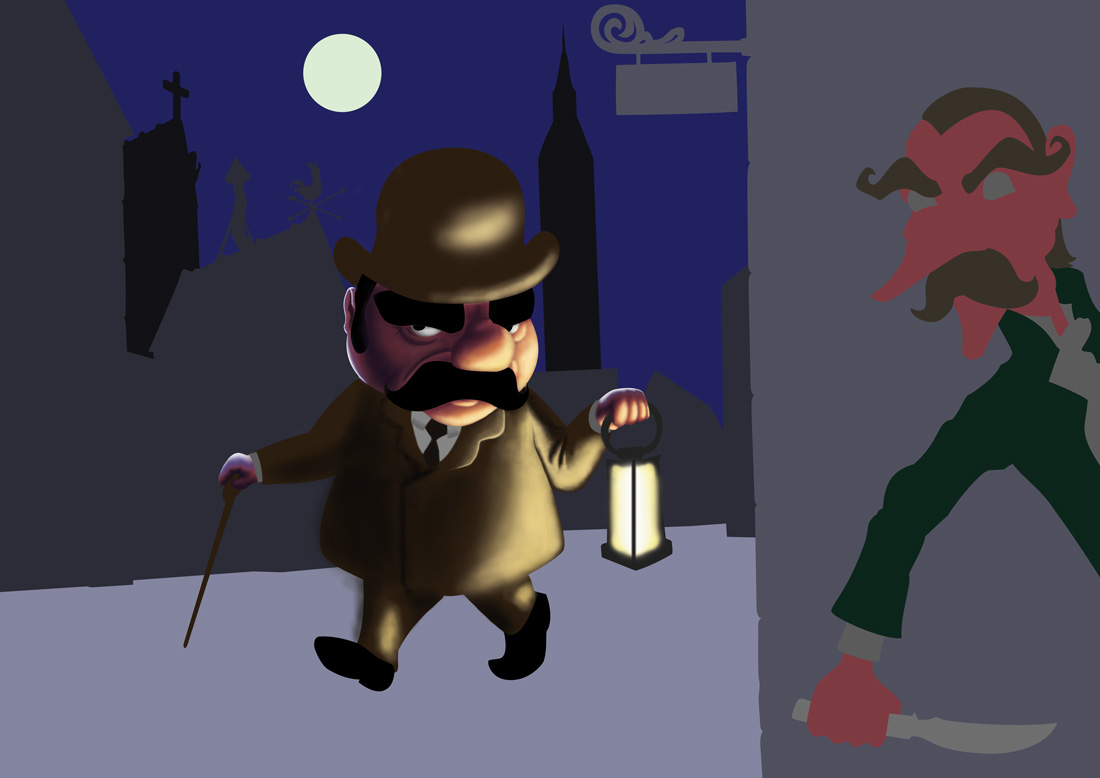
Here I lighted up his hand, according to his two light sources, including the Moon. For the light, notice that I used blue instead of orange. Behind his ear you can notice it better. Also I created his suspicious looking eyes.

Step 6
Play more with the moonlight both on his head and hand.
Step 7
Now I begin to play with the rest of his body, shading his clothing.
Step 8
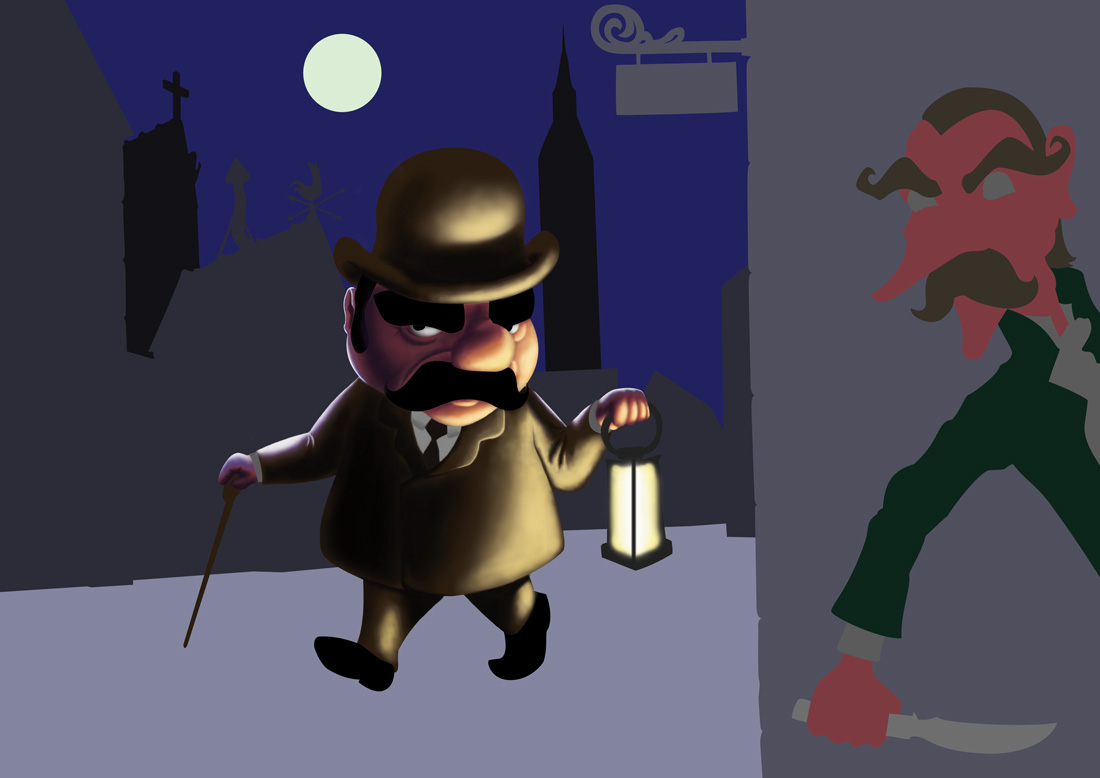
The idea here is to refine the lights and shadows, the contrast is really important to create depth.
Step 9
Now I added some light, this is the moonlight over the composition.

Step 10
Here I intensified the coloring of the inner shadows of his jacket.

Step 11
Let's work on the hat, refine the form, taking care to give the tridimensional feeling of the light from the lamp and the shadows it creates.
Step 12
Now let's play with the Killer. Let's start by doing the same thing I did with Poirot, imagining a second oil lamp outside my frame, illuminating him. Here you can notice the layer of Orange I used before the yellow, in his hand. Also I did a quick sketch of how his shadow on the wall should look like.
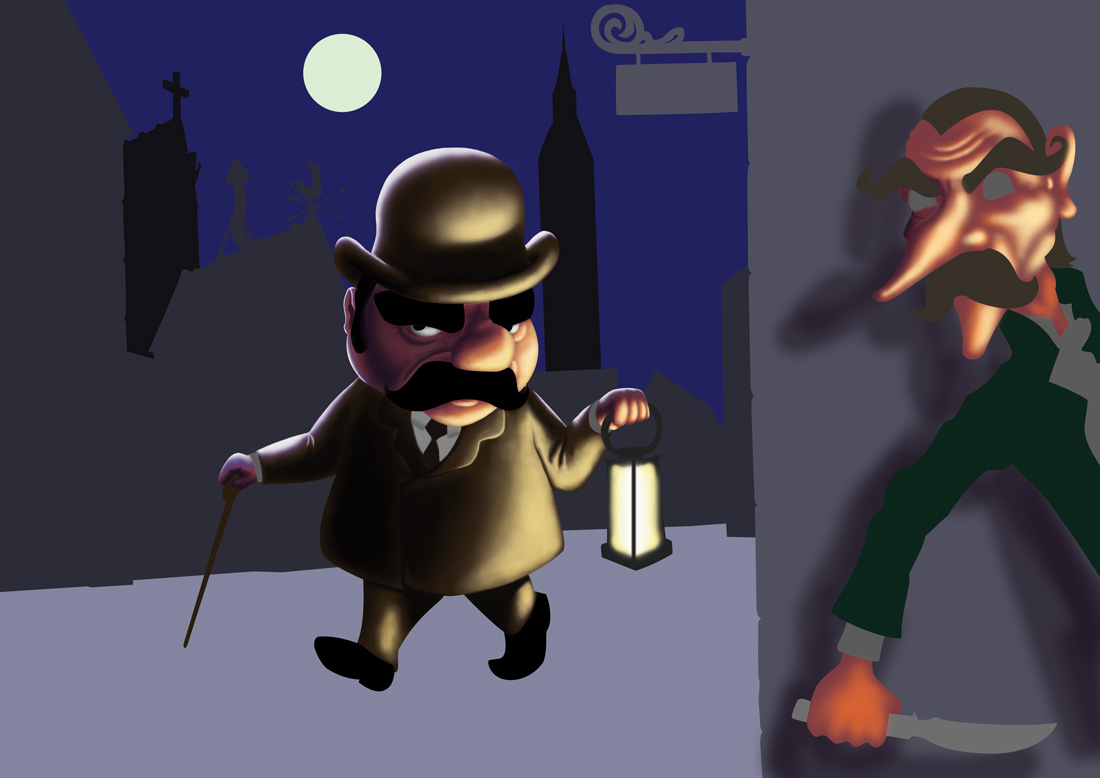
Step 13
Let's define his face better, I added his eyes and began building his coat lightning.
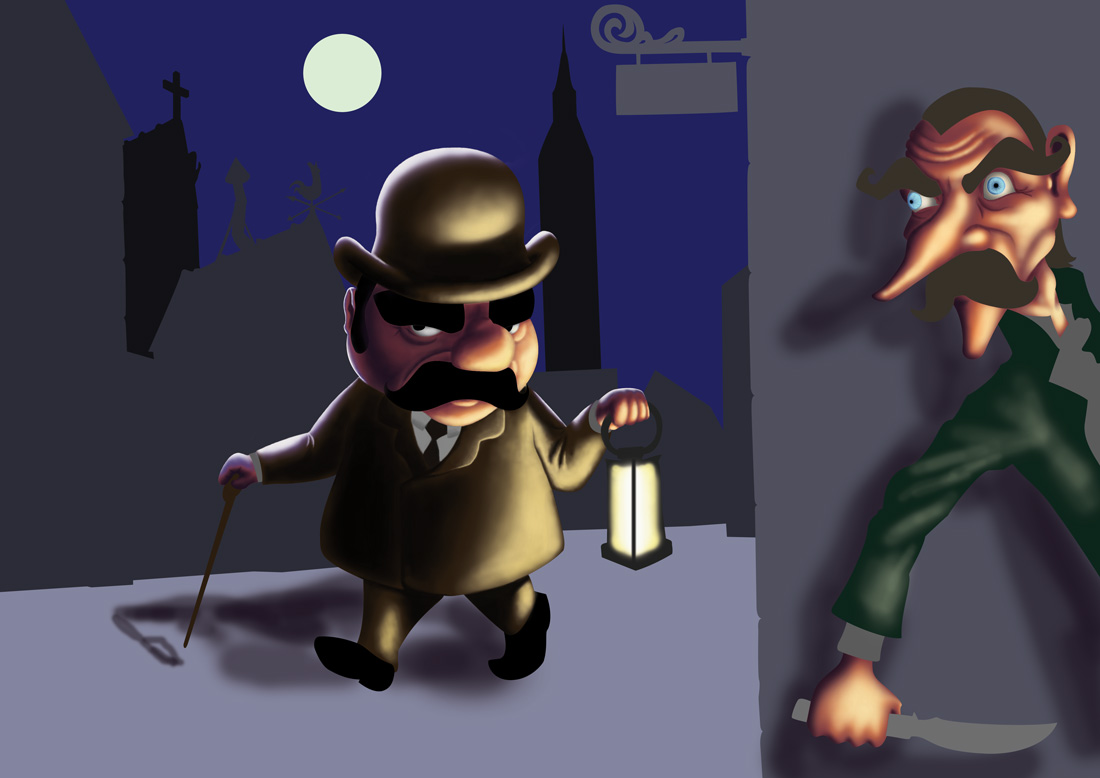
Step 14
Here the rest of him is completely done, and now I can begin to turn my attention to the city.

Step 15
I used a stone texture I found online and apply to the main wall. The stone bricks that make the wall’s limit were done by changing the type and intensity of my brush. I also lightened up the detail from the street sign.
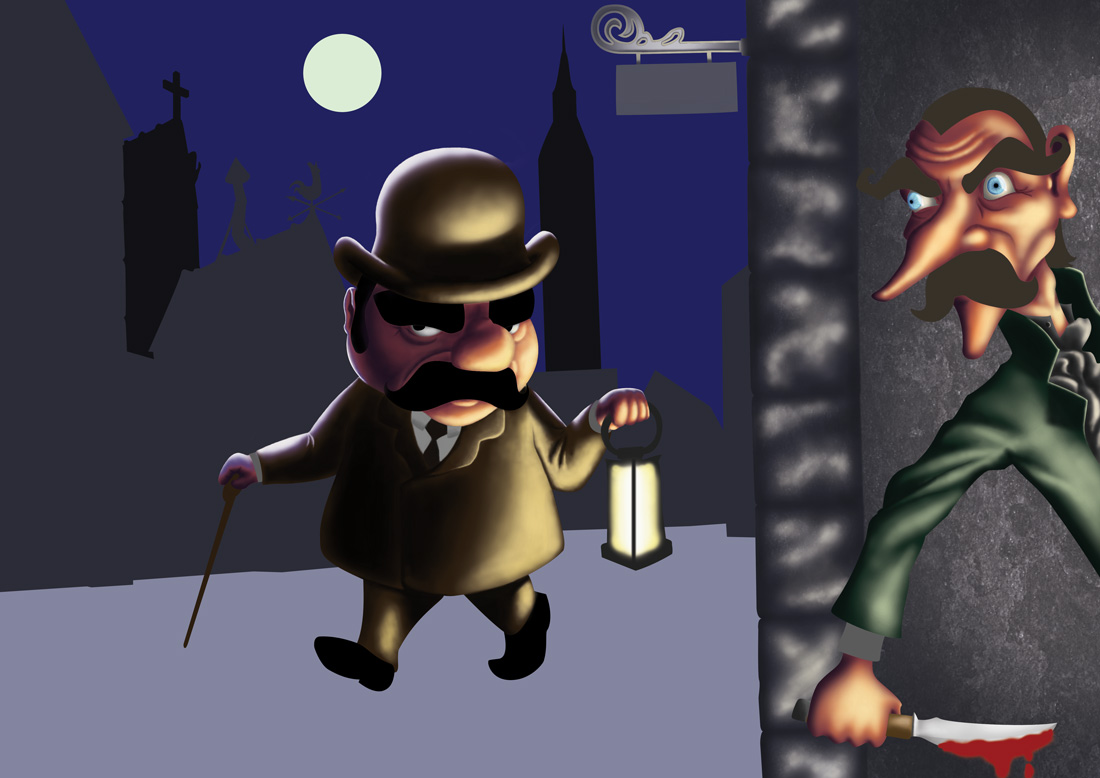
Step 16
Here I added the Street Name. Just for the lulz.
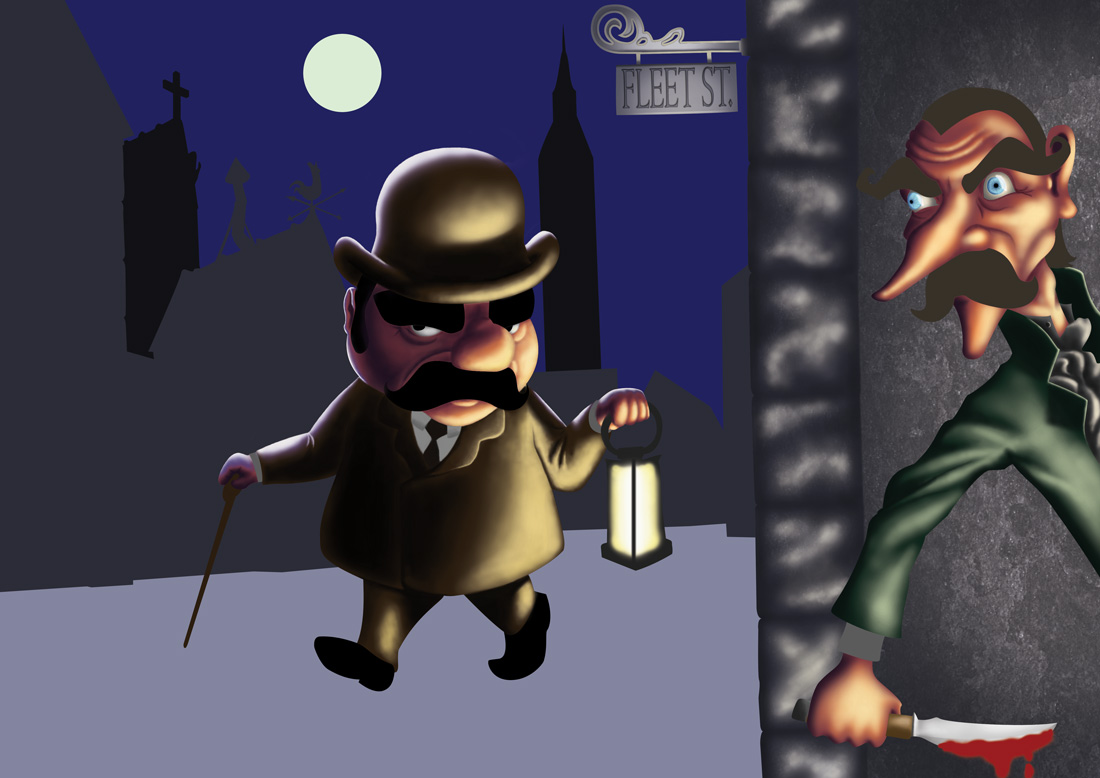
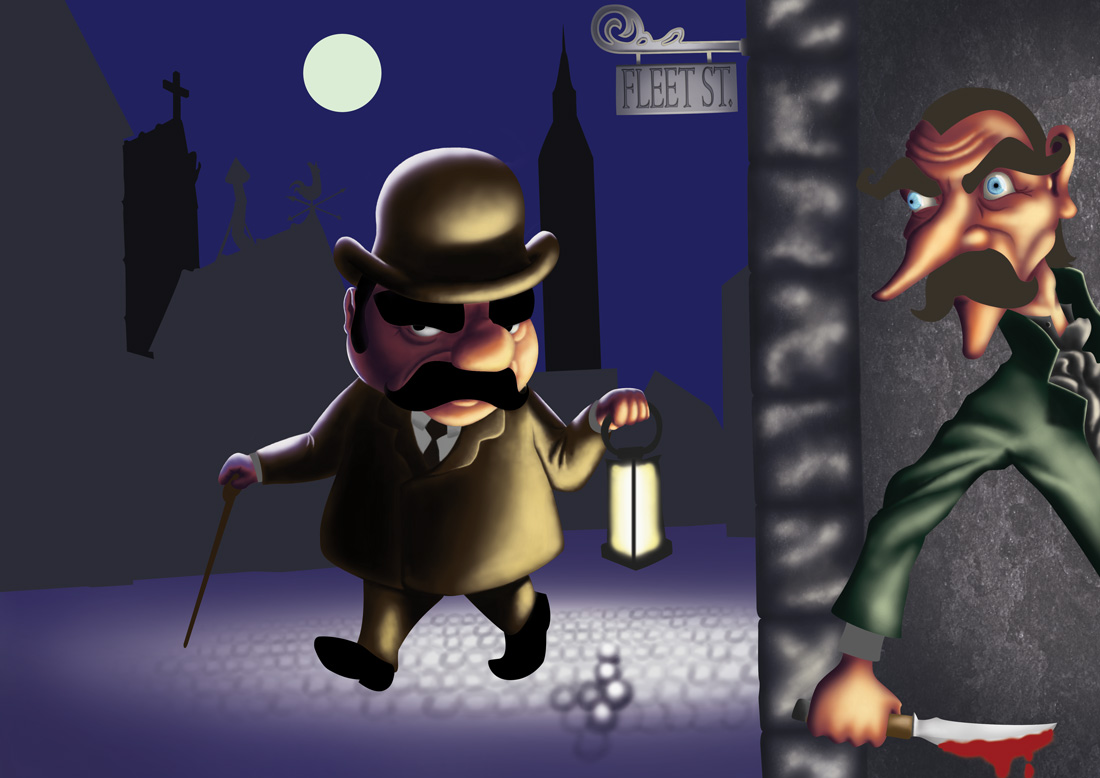
Step 17
Here is an important part of any kind of artistic creation. Trying. Trying and failing are great ways of learning. I started trying to paint the floor. First I lightened it, knowing that the main light source would be the Lamp. Then I started trying to draw the stones in the ground. When I saw it was going to take an awful lot of time that wouldn’t pay off, as the floor was not looking the way I wanted, I attempted to put on a texture. I decided to leave it there and work on other parts for now, as the painting of the rest of the city. I liked that chimney very much.
Step 18
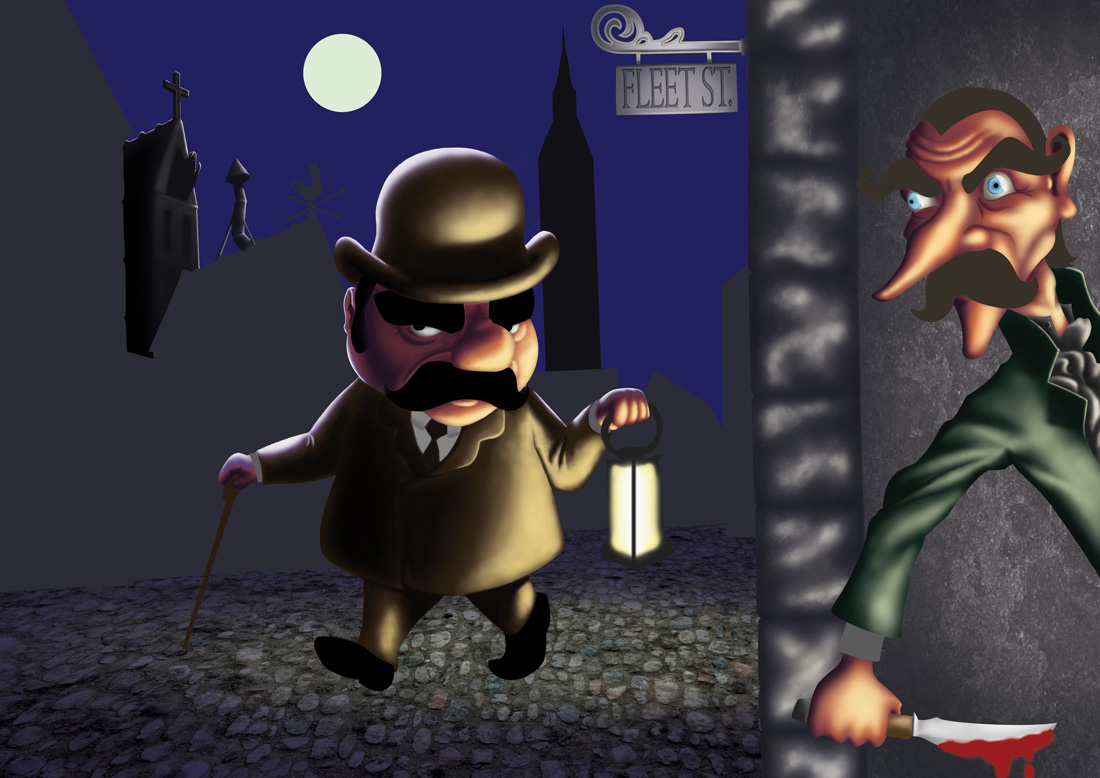
After looking at Googled pictures of the Big Ben for a long time, and trying to place it in the city, I decided that it would look more realistic if it were smaller, appearing to be farther from our main characters, due to the moonlight.

Step 19
I Added some big part of the rest of the city.
Step 20
More detailing in the city.

Step 21
Here, I created a little stars brush on Photoshop and used it to star up the sky. Also did some clouds, and the moon ring.
Step 22
Here I finally defined the final shadows of the characters, as well as a better distorted and suited stone floor.
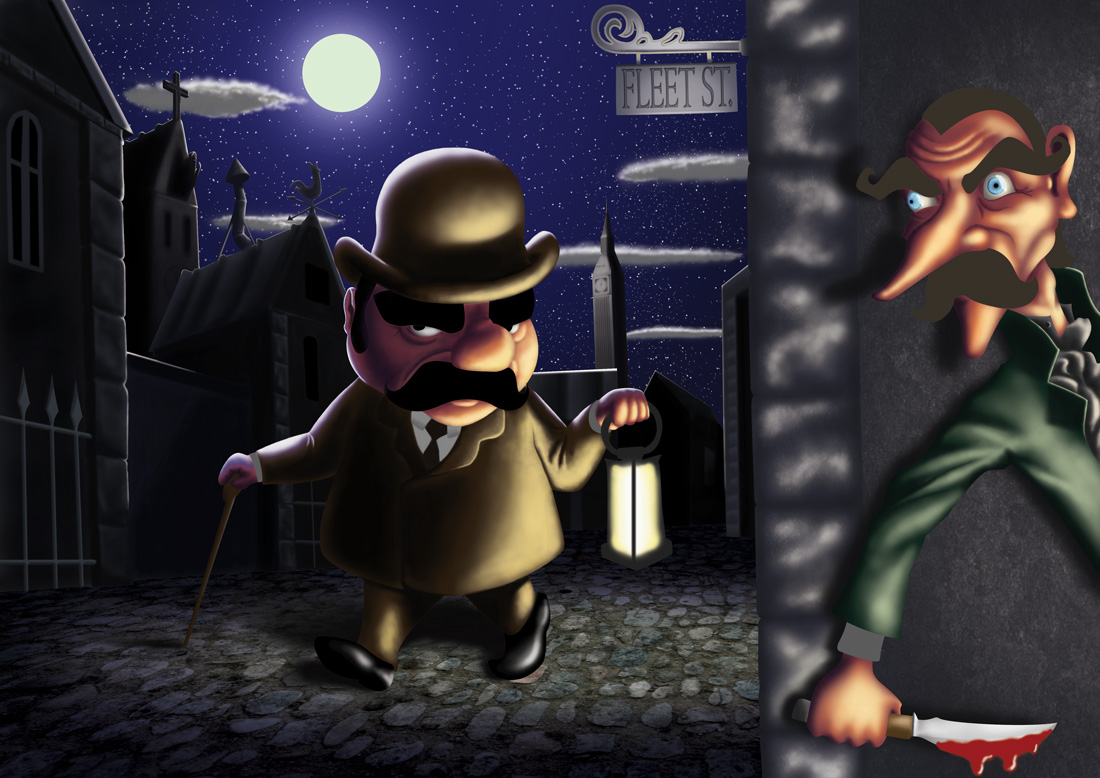
Step 23
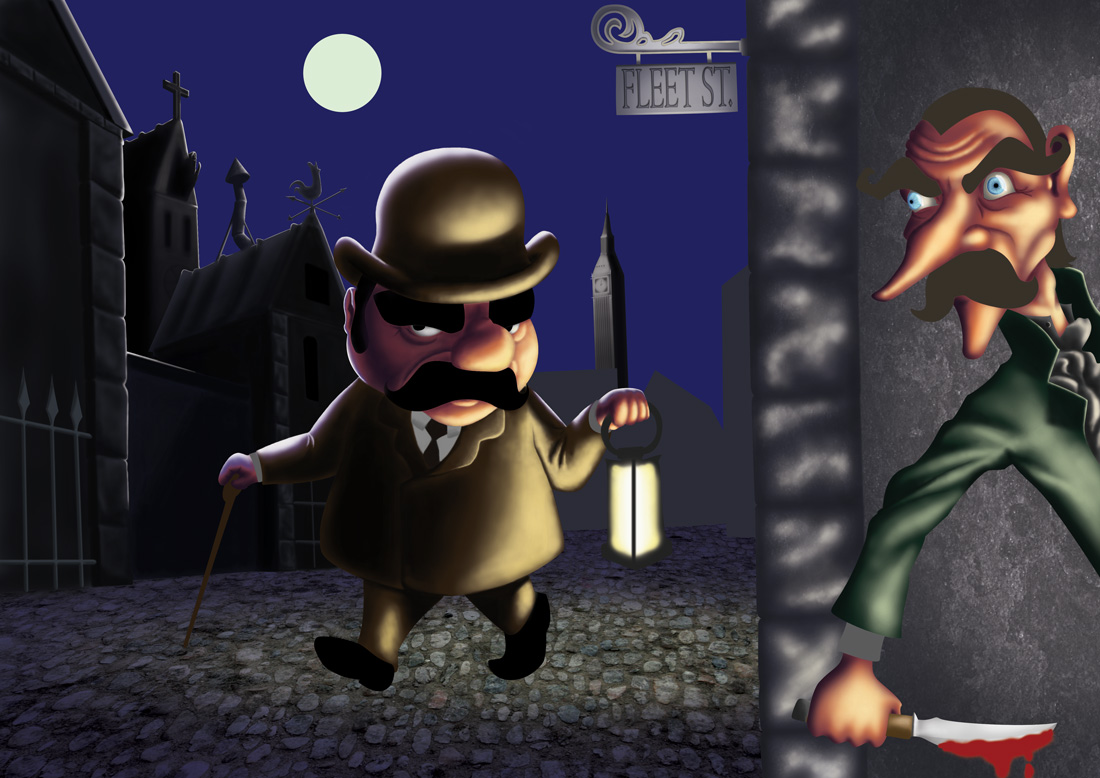
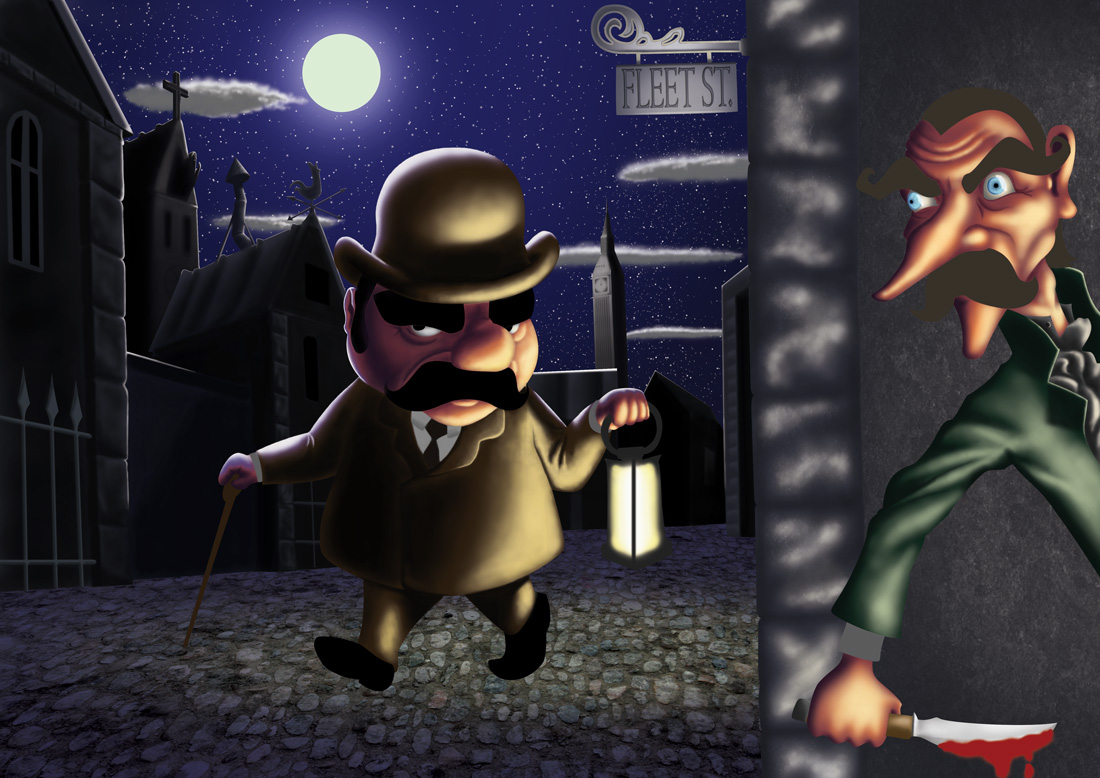
Here I did my best to light up the killer’s hair and mustache. I did this hole thing without a tablet pen, witch makes it a little difficult to draw details like hair.
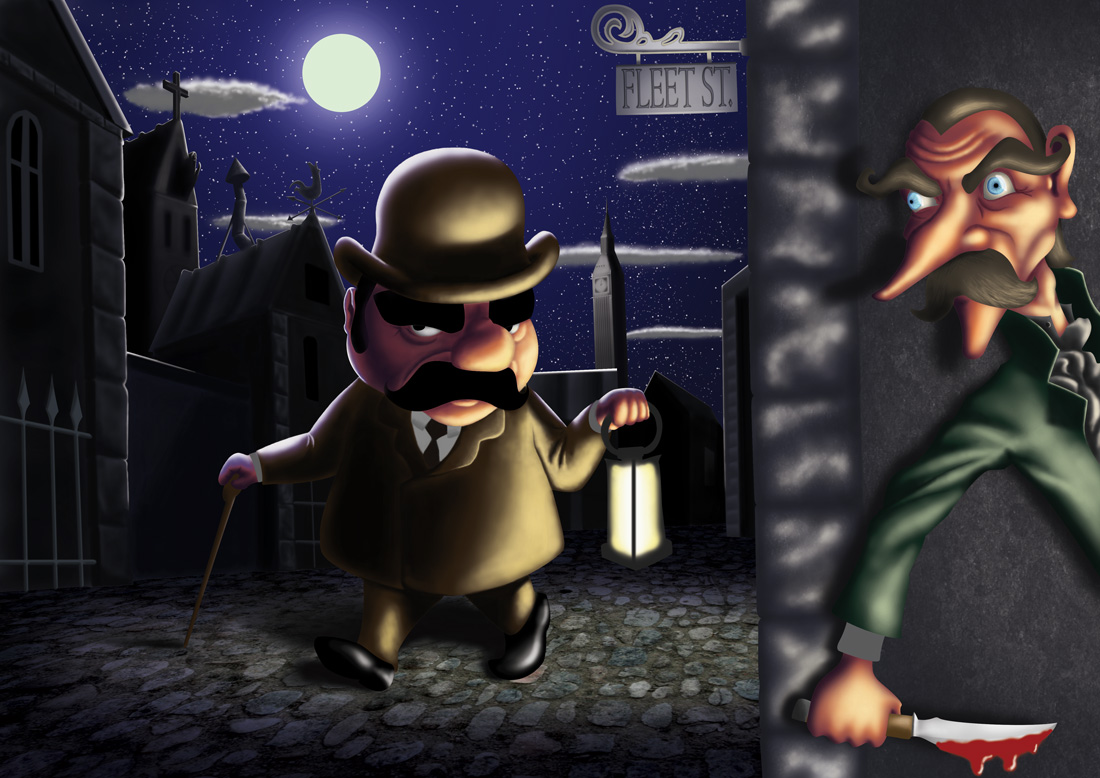
Finished Painting
And finally here I got to detail a little bit of the Moon, and that’s it for Monsieur Poirot and his knife wielding killer. Hope you enjoyed this simple tutorial, and I hope it really can help you!
No Response to "Reader Tutorial: Cartoon Character in Photoshop"
Leave A Reply